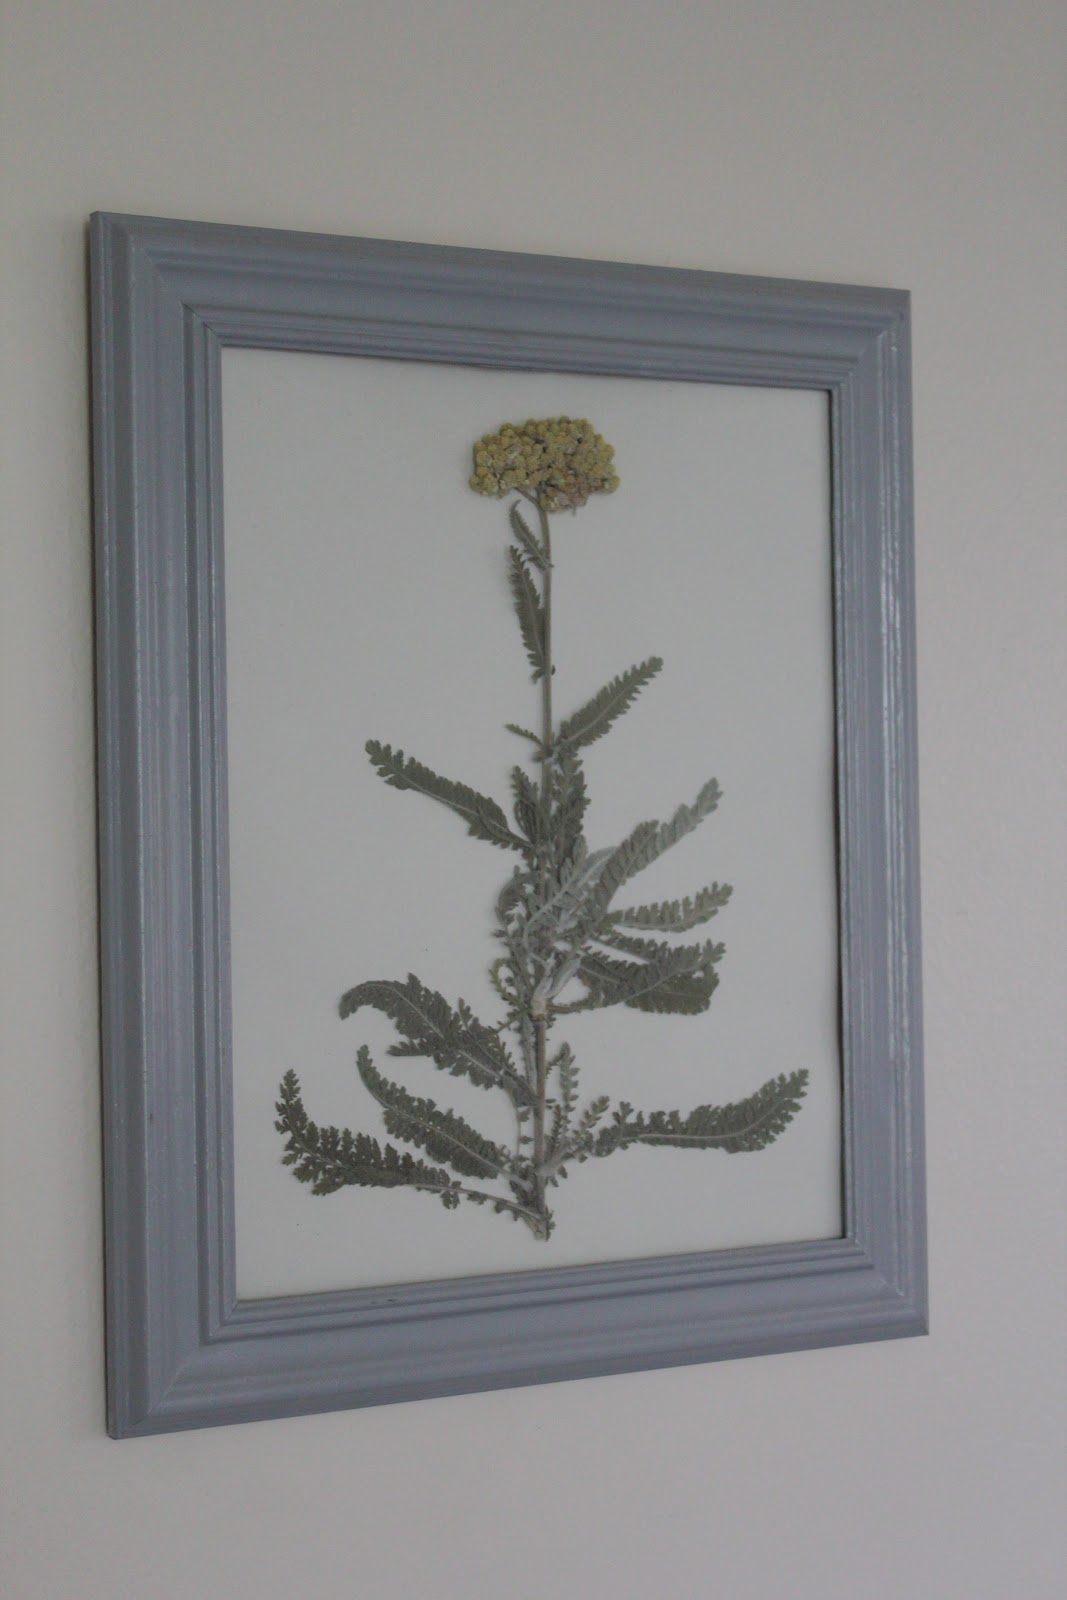
Like a lot of people, I had the problem of not knowing what to do with a certain big blank wall in our home. I originally wanted a set of botanical prints to hang there, but I couldn't find any I liked under $200.00 (way out of my price range). Finally, I realized I didn't need to look beyond my own back yard or spend more than $18.00 (all I had to buy were the frames!) to get the look I wanted. In fact, I am so in love with my set of pressed botanicals that I am sure glad I wasn't able to find cheap prints!
Here is how I did it:

Materials Needed:
plants you wish to press
several telephone books
paper towels
white glue
small paint brush
paper (to mount plants on)
picture frames
paint (if you want to paint your frames)
1st- you need to gather your plants. You can use what grows around your house or maybe collect plant life from meaningful places (i.e., where you got engaged, a favorite hiking trail, etc.).
Here are the plants I chose from our yard.


Keep in mind that most flowers loose a lot of their color when dried, but can still be beautiful. Also, the thicker the plant is, the longer it needs to be pressed.
Pick more plants than you will need. Not all will work out the way you want or you may not be happy with the color once dried.
2nd- It's time to press!
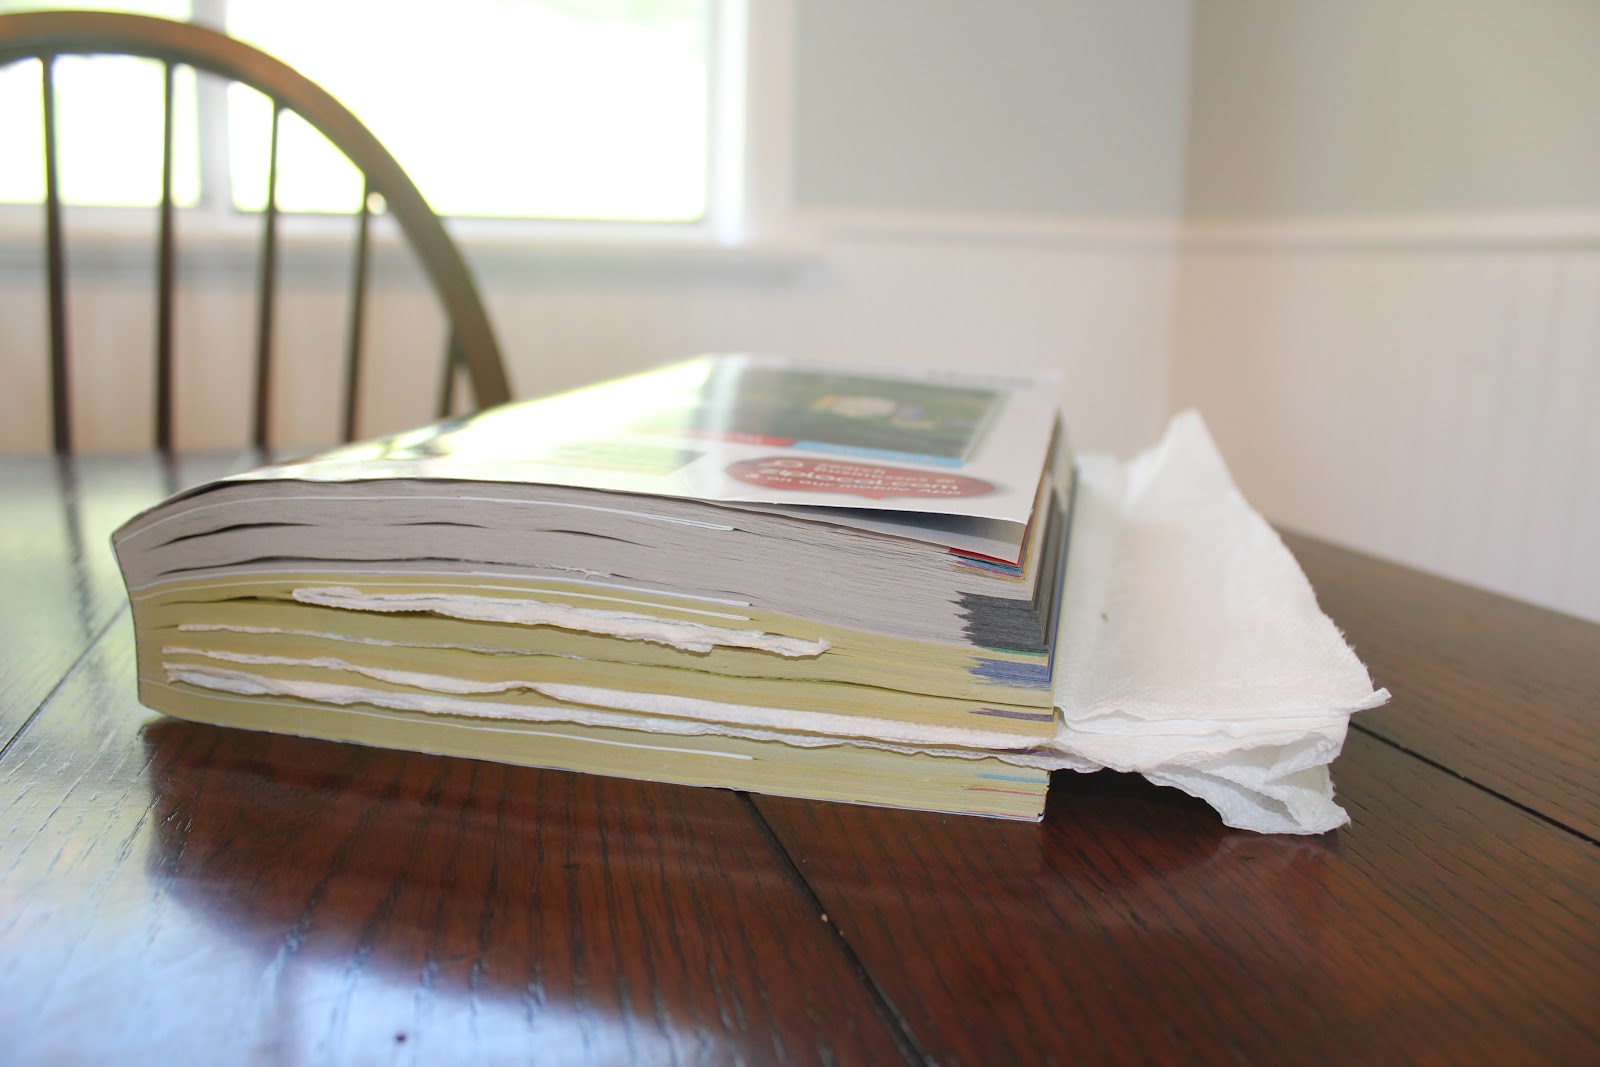
Gather your phonebooks (I used 3 large phone books and 2 small). Place a paper towel on both pages of an open book. Then, lay the plant in the way you want it to be pressed and gently close the book. You can fit several plants in one phonebook. Just be sure to space them enough apart that the pages of the book are smooth and flat.
When you have finished, leave the phonebooks in a place they won't be disturbed with heavy objects on top (I used several large books).
It's a good idea to check on them after a few days. If the paper towels are damp you should replace them with new towels.
Pressing may take between 3 days and 3 weeks depending on the plants and your climate. Where I live it is very dry but I waited 3 weeks before removing any of my plants just to be safe.
3rd- Mounting your plants onto paper.
Choose a nice, heavyweight paper for this (I like to use something with texture). Then play around with how to lay out your plants (this may take a while).
When you are happy with how everything looks, it's time to glue. Put a little glue in a bowl and use a small paint brush to apply the glue to the back of the plants. For more delicate flowers it may be easier to use a spray adhesive (I only used white glue because I didn't want to spend the money on the spray). Next, just flip over, lightly press down on the plant, and leave to dry.
4th- All you need to do is frame them and hang them!
I got my frames at Wal-Mart for $3.00 each. They were a very ugly color of oak so I painted them. You could find frames at a dollar store, thrift store, or you may already have some in a closet!
Here is the finished product!


I had a lot of fun making these and I am so happy with the results! I hope this has inspired you to create your own pressed botanical art!


 The pictures I chose were fairly intricate so scissors would not have worked. Luckily I got a nice set of
 I painted a couple coats of white in the area I was planning on putting the plane then left the canvases to dry. Next, I set the silhouette cutout on the canvas and went over it again with the white paint. This ensures that the colored paint won't bleed underneath the paper stencil. When that was dry I just painted over the entire canvas, one blue, one grey, and one red (2 or 3 coats depending on the paint color).
 As soon as I finished the last coat of paint I peeled off the paper airplane stencils. It was a little hard to get off in places and I had to use a knife to cut or scrape it from the canvas.